My first circuit

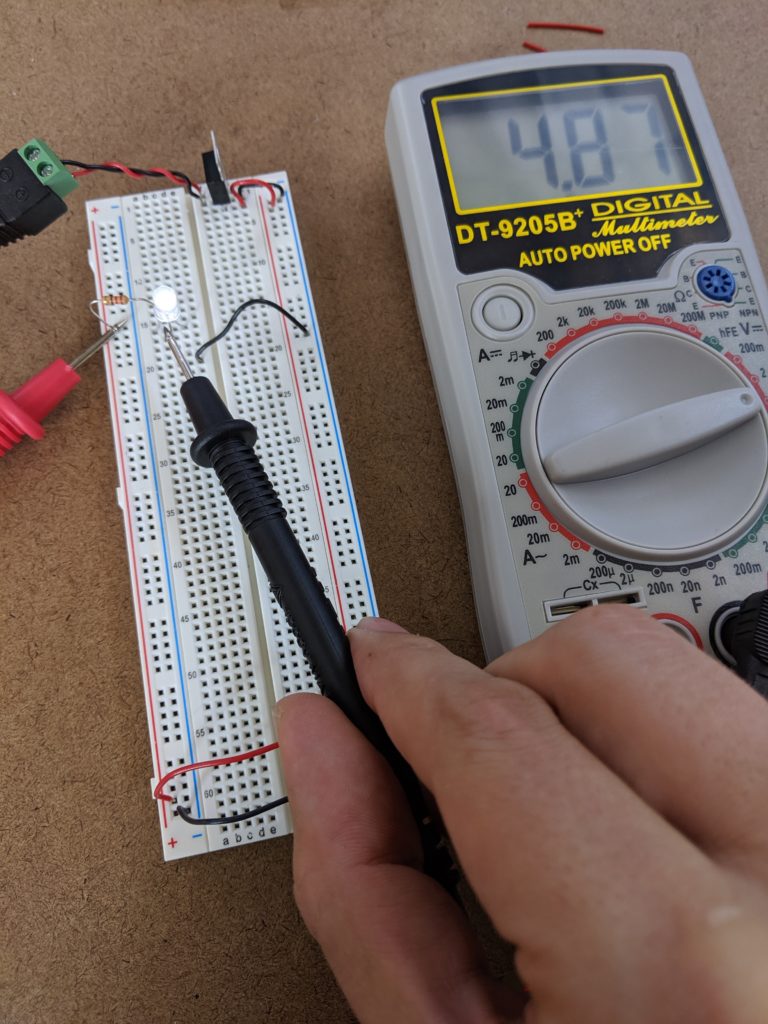
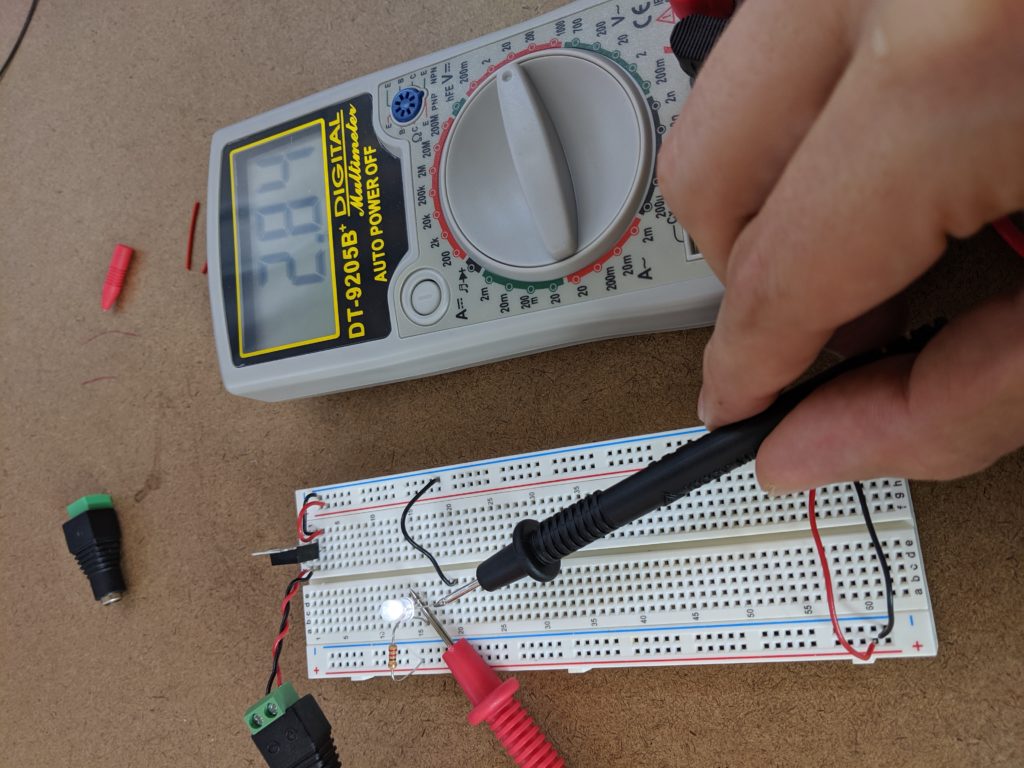
Measuring voltage drop through a resistor
Self-made switch: 1st attempt
The idea is a switch that is activated by blowing air. Not there yet.
Using a push button switch
Switch is not working – because its legs close the circuit (wrong positioning on the breadboard).
Switch is positioned correctly and works – circuit closes when pushed.
Two switches in series
Only when both are pressed does the circuit close.
Operating a motor
Works but seems to be turning slowly. The motor is rated for 4.5V, 190mA current. We don’t need the voltage regulator
After taking out the voltage regulator, I’m measuring the current by replacing the switch with the multimeter. Didn’t get a stable reading but looks like more current is going through now.
Using the switch to operate the motor – it is now operating at a significantly higher speed.
Using the multimeter
Testing continuity through a conductor. Beep!
Switch V2.0
inflating a party blower to close a circuit and turn an LED on
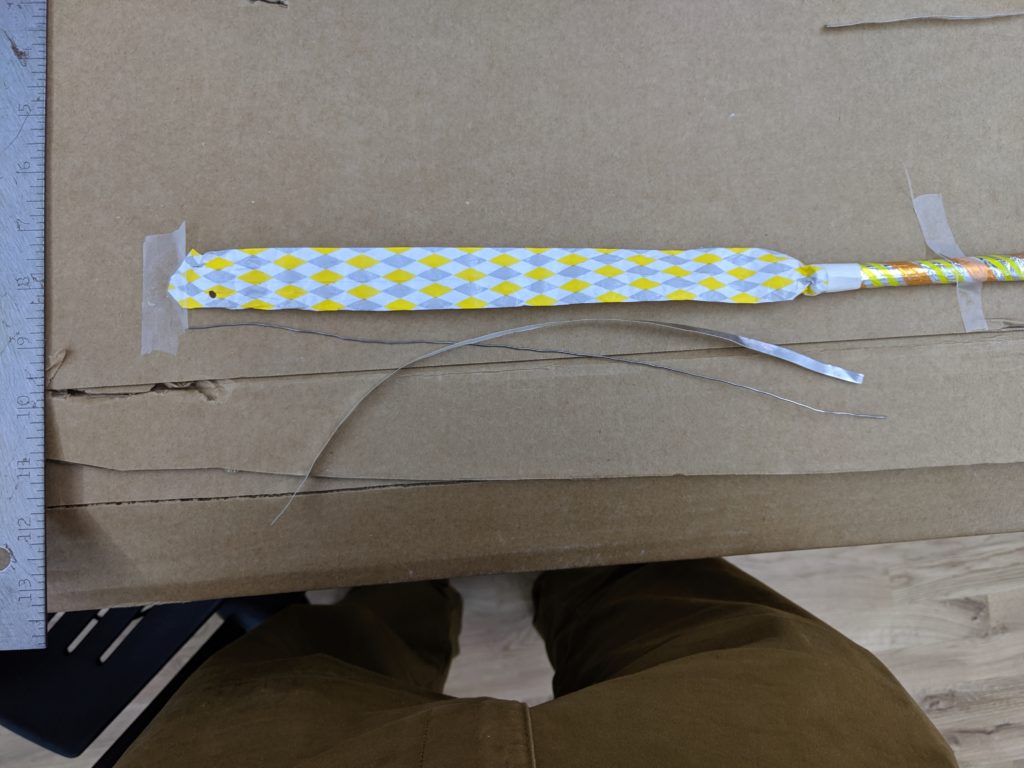
Finding a material that would be conductive but not deform the party blower was the trickiest part. Taping a thin copper wire made the blower stay flat. Ultimately a sliver of conductive tape did the trick.

Tip is covered in aluminum foil to increase contact.
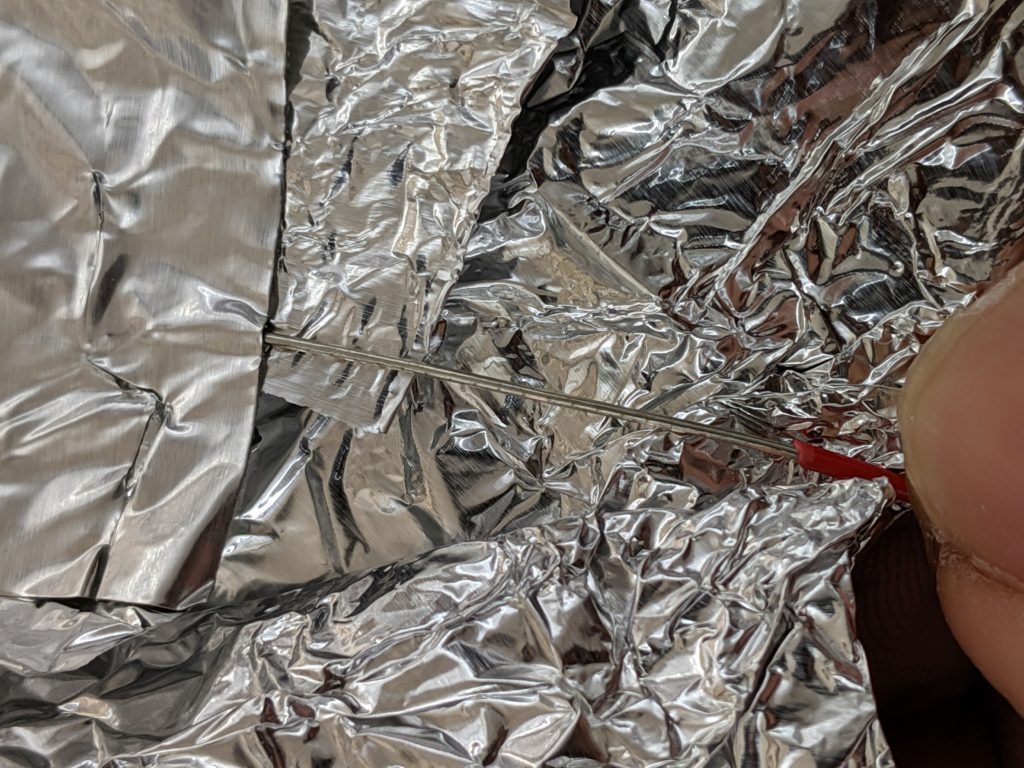
receiving plate is also covered in foil, connecting to a wire that runs to the breadboard.
Posted in Fall '19 - Introduction to Physical Computation |